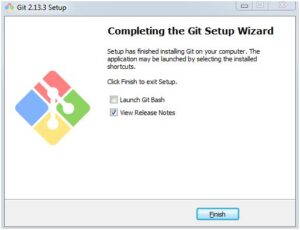
- Download GIT from here https://git-scm.com/download/win for Windows OS.
- Install GIT.
- Go to Start -> Select Git GUI
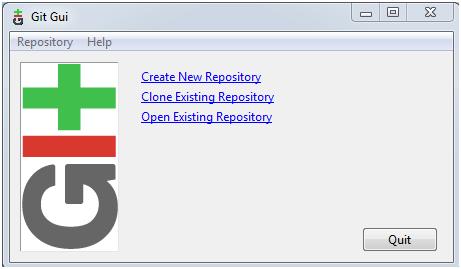
- Click on Create New Repository
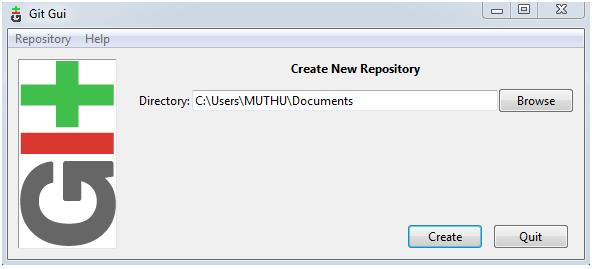
- Provide Directory details (where your Java Classes are present) and Click Create.
- Now , your repository has been set up. You will need to tell GIT who you are so that commit messages will have the correct author. To do this, choose Edit → Options.
- Provide your GIT credentials in Options popup as below.

- Your repository has been created and is ready now. It is time to add something to commit.
- To add your programs under Staged Changes (Will Commit), click on the Icon (File Icon) to the left of your file name.
- Once you click, the file will be moved from Unstaged Changes to Staged Changes (Will Commit)
- Add Commit message now.
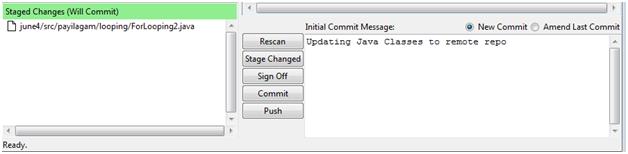
- Click on Commit
- After committing, click on Push
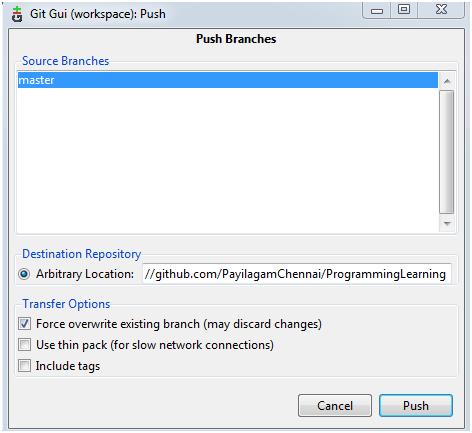
- Select master
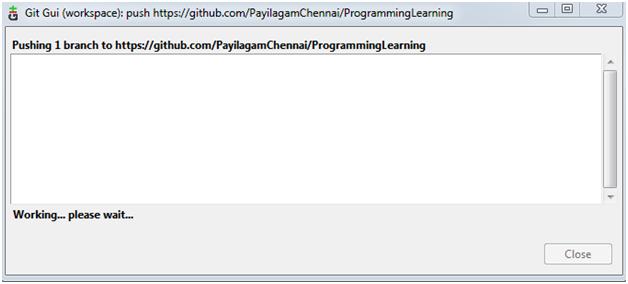
- Provide your remote repository URL here for Arbitrary Location and click Push
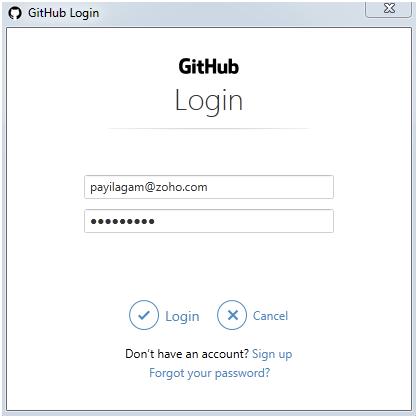
- GIT will ask for your credentials again here. Provide those.
- You will get ‘Success’ popup.
- Now, go to your remote repository in github.com eg. https://github.com/PayilagamChennai/ProgrammingLearning
- Refresh the Website. You could see your programs you did in your local system in GIT Repo.